A while ago, I was inspired by the project Maria shared on Raising4Princesses, and when I finally decided to get my crafting act together and make it, I was so surprised to realize it had been well over a year since that post!
But better late than never, some people say! Those people have obviously never waited for a pre-schooler to bring them a tissue for the snotty faced baby, I imagine. Because if they're late with that tissue, it's all over the couch and your shirt anyway. This has nothing to do with chore charts. Unless snot clean up is one of your children's chores. Which it very well may be.
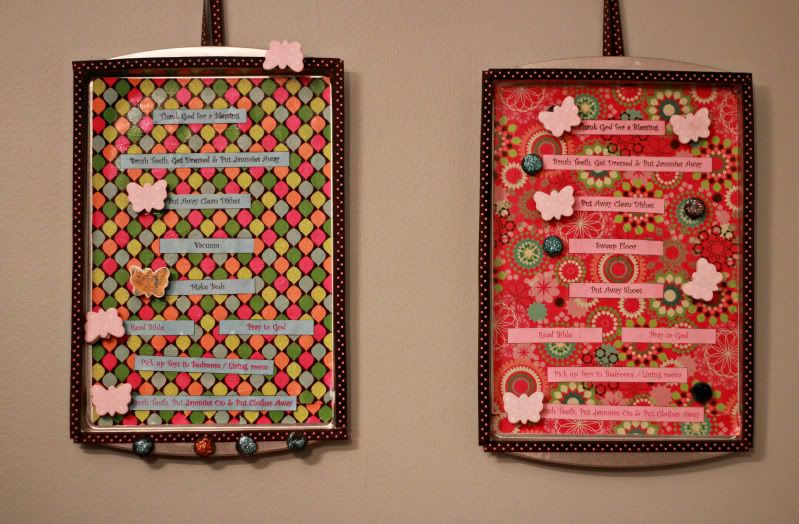
In actuality, I don't think of this as a CHORE list in our case. There are chores like laundry and cleaning the bathroom that the girls do help me with that I did not list here. The purpose of this chart was to simplify their daily routine. These are not necessarily chores, but responsibilities that are to be done every day. My hope is that I give the same redundant instructions a little less. But you can customize with any list that is helpful to you, of course. I almost made one for myself! =)
I had seen a similar tutorial on Pinterest that started with sheet metal from the hardware store. I looked for such a thing, but what I found was very heavy and a lot more money than I was willing to pay (about $10 a piece). So, in keeping with Maria's idea of the cookie sheet- she used a large cookie sheet for 3 girls, I bought 2 small (13 x 9 in.) cheapo cookie sheets at WalMart for $1 each. Much better price and the perfect size.
Depending on what craft supplies you have on hand, that may be the only purchase necessary (and if you happen to have a grungy old cookie sheet- use it!) The cookie sheets I have did not attract the magnet. Maybe because they are air bake? Who knows.
1. Select, measure and trim scrapbook paper to fit the cookie sheet. My 12x12 scarpbook sheets needed to be trimmed to a scant 9 in., and then I cut about 1 inch strip to make up the extra inch for the 13 in . side. If you look very close you'll see the seam, but I really don't feel like this project requires perfection.
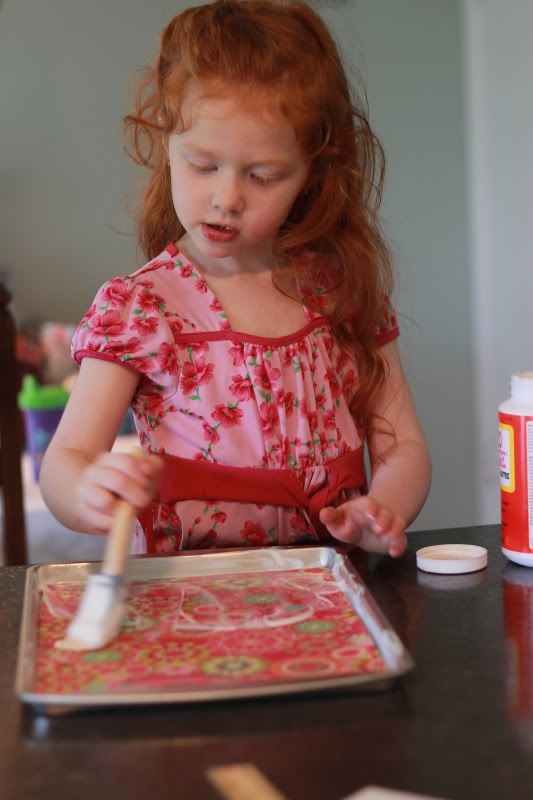
2. Cover the entire surface with Mod Podge, place your scrapbook paper down, and apply another coat of Mod Podge. This is pretty simple. Maybe step-by-step directions are insulting your intelligence! lol
 |
| The kiddos can do almost all of this project for themselves! |
4. Trim with ribbon. Mod Podge holds in down quite nicely!
5. Decorate magnets with whatever your heart fancies. Again, mod podge it up!!
6. Attach ribbon loop with hot glue.
7. Find a place to hang it where the 18 month old won't destroy it.
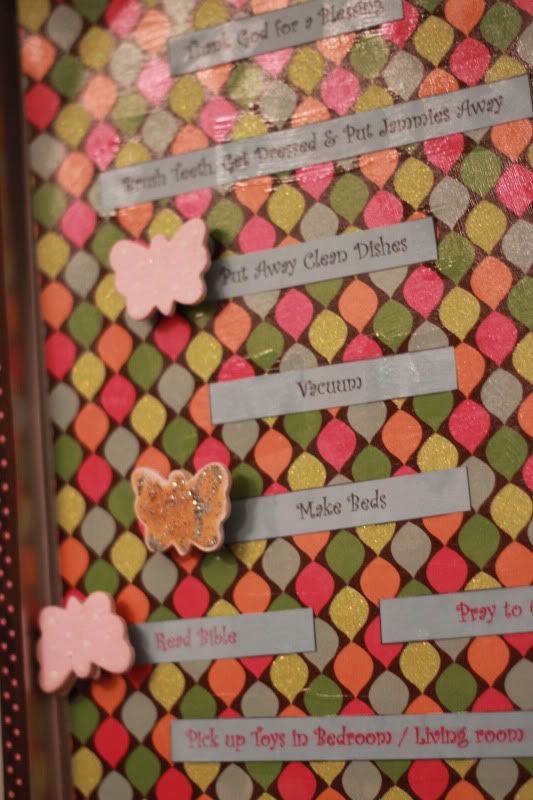
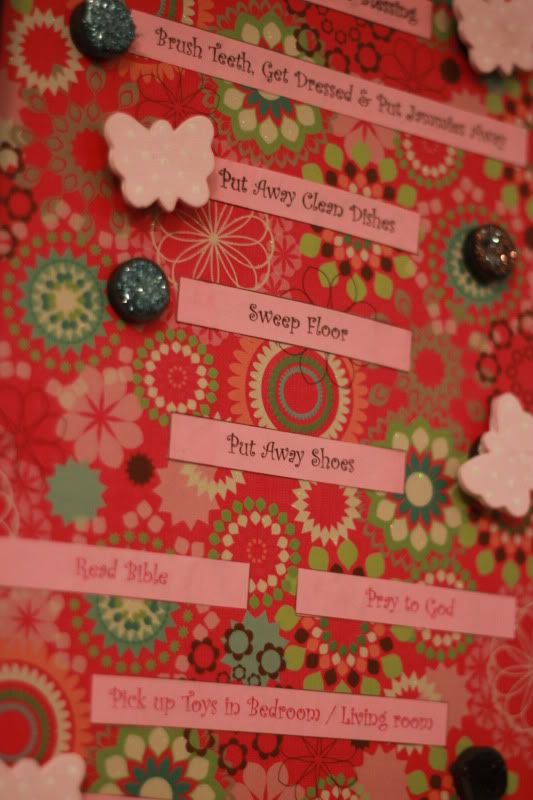
8. Explain each responsibility to the girls and put it into practice the next day. Instead of listing each thing for them to do 5,00 times until you feel like a broken record player, simple say to take care of their responsibilities. Black are morning duties, and pink are night time duties. As each one is accomplished, a magnet is placed by it. Magnets hang out on the top or bottom "handle" until being used.
 |
| Maddie selected this mod print with blue strips. Good combo I think! |
 |
| Eden found the pinkest paper she could. =) |
10. Make up a dumb step so that you can end on a nice even number like 10.
Love,


5 comments:
I am so doing this! Thanks for the info! :)
thanks for the mention! I think I even have some of that paper somewhere. Mine really needed redone. Some chores have been passed down to other siblings now and lazy (busy) me just has a yellow sticky note on the front of the chart! Shame on me! These look great! Maria
They were so proud to show them off to Nana this morning. GREAT job!!!!
Hope all is well. I tagged you to do this fun little thing...
http://psalm55-22.blogspot.com/2012/06/11-things-about-me.html
Oh that looks fun, rena. I may do it if I have time... the ide of tagging that many bloggers is overwhelming though! =P
Post a Comment